
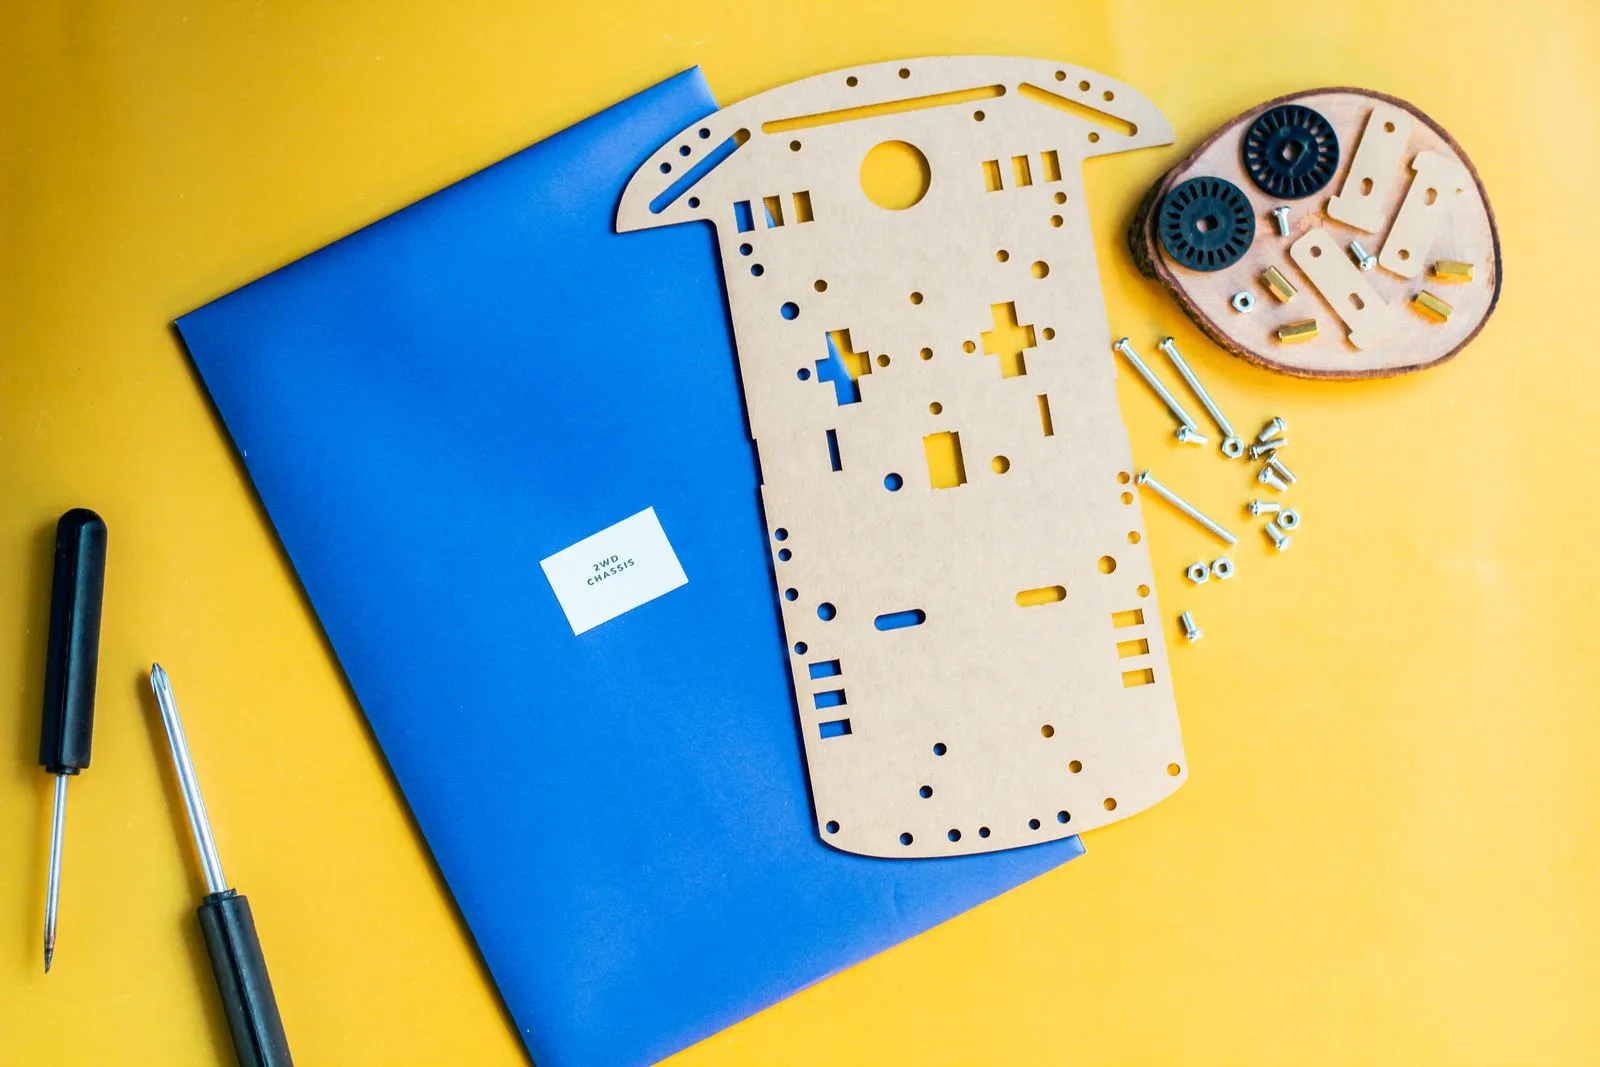
A robot brings together a physical build and a set of instructions. Its frame holds the parts, its sensors gather information, and its motors or other outputs respond. Code connects those pieces by telling the robot what to do and when. You do not need advanced tools to begin: a simple wheeled robot can teach you how components fit together, how basic commands work, and how to test an idea when the result is not what you expected.
Know the Main Robot Parts
A robot’s frame or chassis supports its components. Wheels, tracks, or legs help it move, while motors provide the force. A controller—often a small programmable board—runs the code and sends commands to the motors. A battery supplies power, so check that its voltage and connector match the kit’s instructions before connecting it.
Sensors let a robot detect something about its surroundings. A distance sensor can measure how close an object is; a light sensor can detect brightness; and a button can register a press. Start with one sensor and one action. Keeping the build simple makes it easier to see which part is responsible when something goes wrong.
Understand Simple Code
Begin with three building blocks: sequence, conditions, and repetition. A sequence runs commands in order, such as turning on a motor and then stopping it. A condition checks whether something is true, such as whether an obstacle is nearby. Repetition runs a group of commands again, allowing a robot to keep checking its surroundings.
Many beginner tools use visual blocks that snap together; others use text. Either way, read the instructions in order and look for the input, decision, and action. For example: read the distance sensor; if an obstacle is close, stop; otherwise, move forward. Set a safe test area and keep the robot within reach while trying new code.
Connect Sensors to Actions
A robot works by following a loop: sense, decide, and act. The sensor provides information, the controller compares it with a rule in the code, and an output responds. In an obstacle-avoiding robot, the distance sensor reports what is ahead. The code checks that reading and tells the motors to stop or change direction when needed.
This connection depends on both wiring and logic. Secure connections according to the kit guide, then test each component separately before combining them. Confirm that the sensor gives a reading, that a motor turns when commanded, and that the code responds to a simple condition. Testing one piece at a time narrows down problems faster than changing the whole build at once.
Build and Improve a First Project
Try a basic stop-before-an-obstacle project. Assemble a wheeled chassis, connect the controller, motors, battery, and distance sensor as directed, then write a loop that checks the distance. If the reading shows an object within a chosen threshold, stop the motors; otherwise, drive forward. Test with a large, easy-to-detect object and adjust the threshold if the robot reacts too early or too late.
When the robot behaves unexpectedly, change one thing at a time. Check power and wiring, inspect the sensor reading, and confirm that the code uses the value you intended. Then run the same test again and note what changed. This habit turns mistakes into useful clues and helps you understand how a physical design and its instructions work together.
Robotics becomes easier to understand when you build in small steps: identify each part, test it, and connect its behavior to a simple rule in your code. A beginner project does not need to be complicated to teach useful skills. Choose a kit that matches your experience, follow its safety guidance, and explore the basics with Spokane Robot Club.